
Last updated November 16, 2026
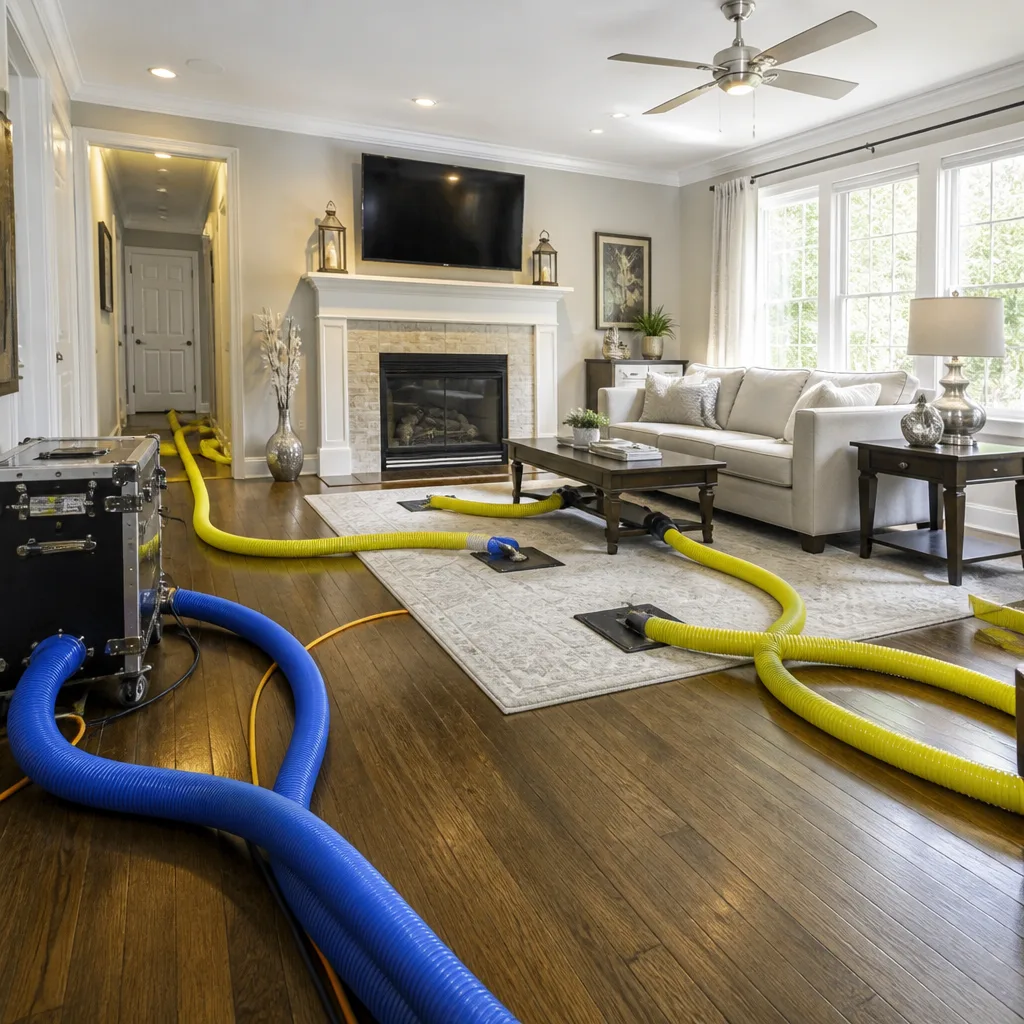 Whole-home duct cleaning
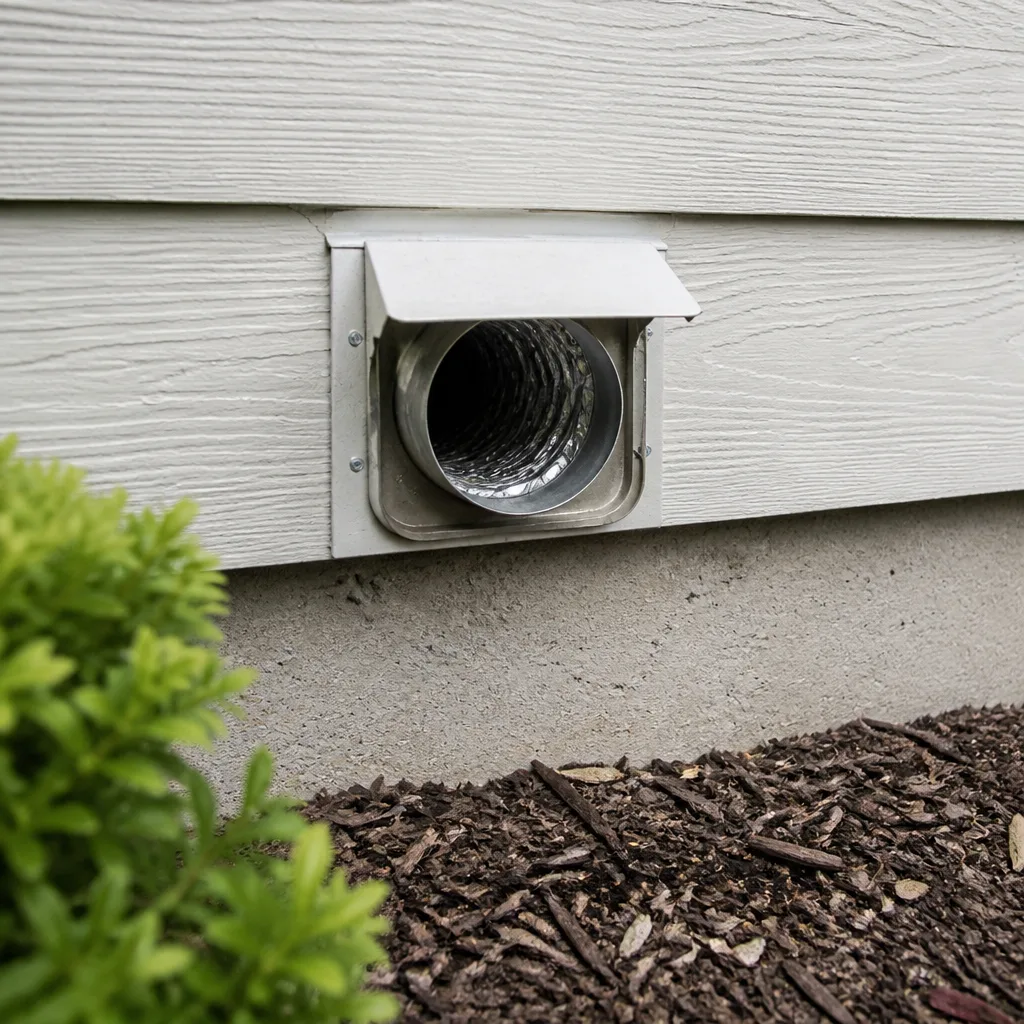 Dryer vent cleaning
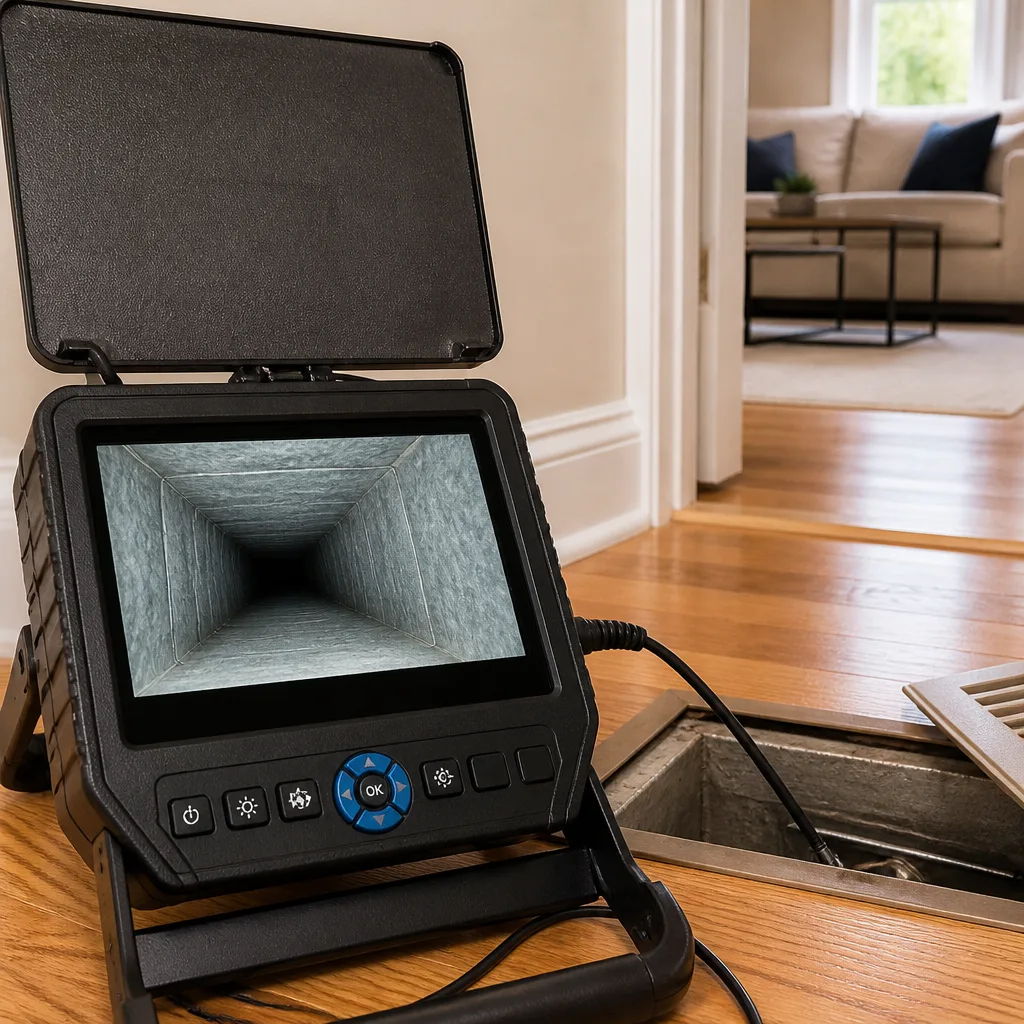 Camera inspection
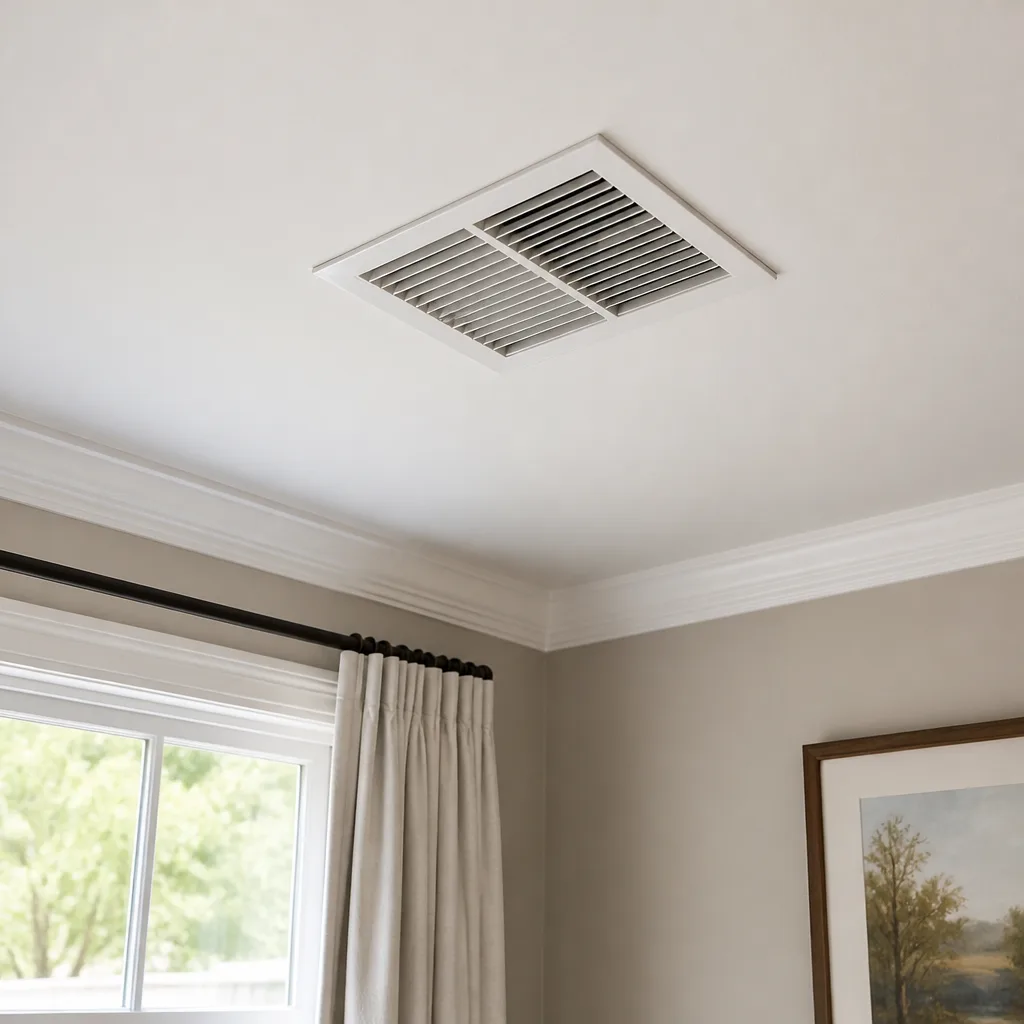 Sanitizing & deodorizing
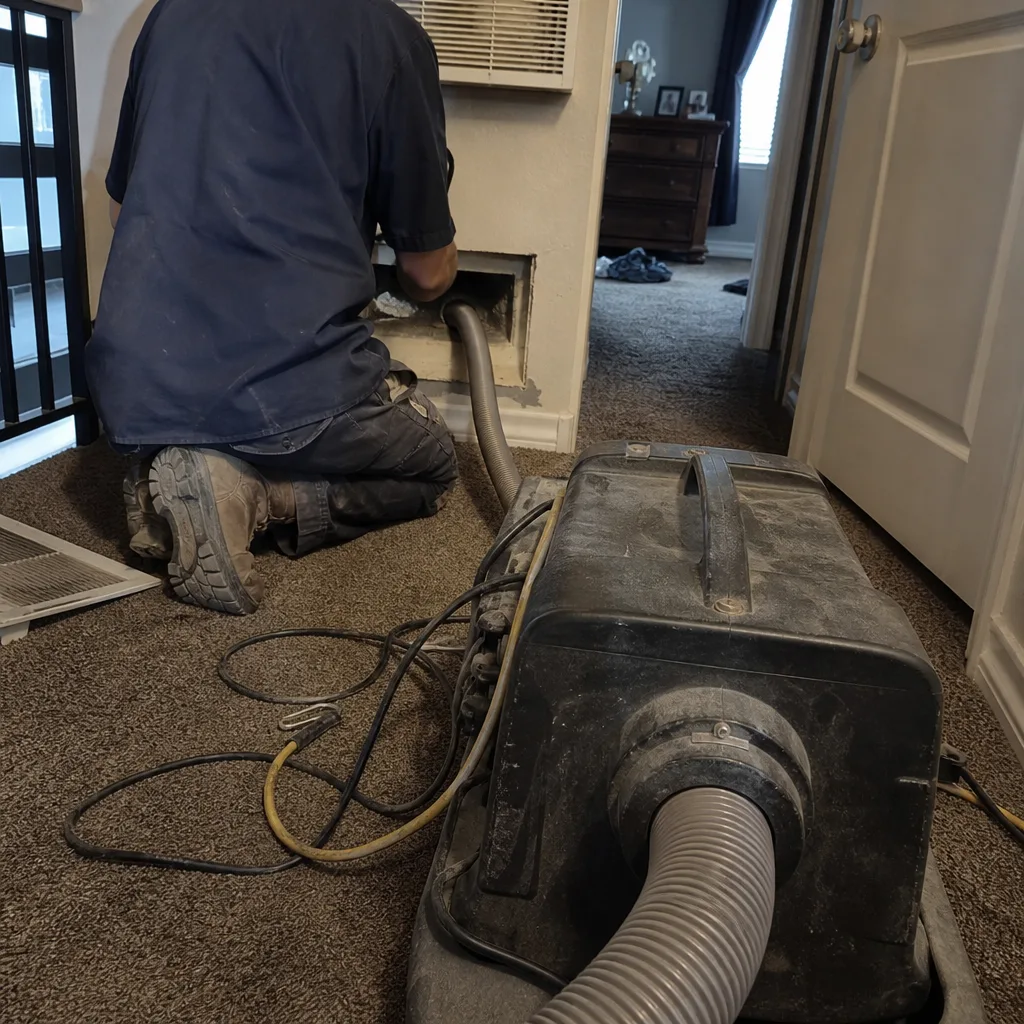
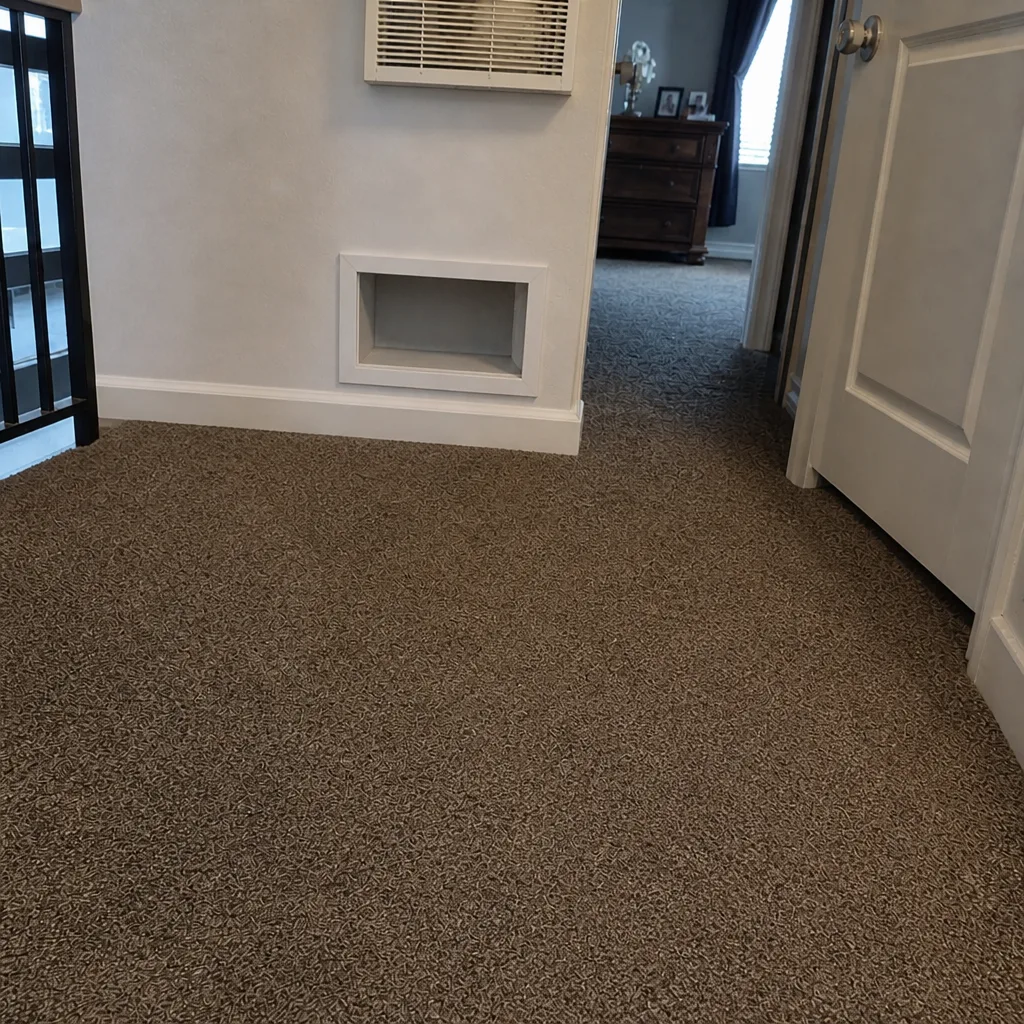
Whole-system duct and dryer vent check with before-and-after photos - you see exactly what came out of your vents
That "$99 whole-house special" is a bait ad - the real number appears once they are in your hallway, or the "clean" is a shop-vac at the register. We photograph the inside of your ducts before and after instead.
Air Duct Cleaning Maintenance Checklist for Salt Lake City Homeowners
Most duct maintenance checklists tell you to change your filter every 90 days and call it done. That’s fine advice, and it misses the six other failure points that quietly degrade your system between professional visits. Ducts don’t fail all at once. They loosen at a joint, sag in an attic, collect a little dust at a return boot, and a year later you’re wondering why the back bedroom won’t cool. This guide is a room-by-room audit Salt Lake City homeowners can actually run, from a tissue-paper airflow test to a static pressure log to the freeze-thaw joint inspection almost nobody does.
Quick Answer
A workable duct maintenance routine for a Salt Lake City home runs on three tracks: monthly filter checks with a MERV upgrade timed to inversion season, a season-by-season inspection of accessible joints and return seals, and a whole-system professional cleaning on a schedule tied to your home’s construction type and dust load. The checklist below gives you the do-it-yourself steps, the warning signs that mean a duct is already failing, and the points where a trained technician with rotary-brush and HEPA equipment needs to step in.
Styles & brands we work with
- Whole-home duct cleaning
- Dryer vent cleaning
- Camera inspection
- Sanitizing & deodorizing
Table of Contents
- 1. Filter Checks and the MERV Upgrade Calendar
- 2. The Tissue-Paper Airflow Test, Room by Room
- 3. Inspecting Duct Joints After Winter
- 4. Logging Your HVAC’s Static Pressure Behavior
- 5. The Return Air Seal Check Everyone Skips
- 6. Dryer Vent: The One Vent That’s a Fire Risk
- 7. Building a Year-Round Cleaning Schedule
- 8. What a Professional Visit Should Include
1. Filter Checks and the MERV Upgrade Calendar
The filter is the cheapest maintenance item you own and the one most often changed on the wrong schedule. Ninety days is a reasonable default for a low-MERV filter in a clean house. It’s wrong for a home near the foothills during a dusty spring, or for anyone running a MERV 11 filter through January. Check your filter monthly. Change it based on what you see, not what the box says.
Here in Salt Lake City, filtration needs a seasonal rhythm the generic advice ignores. Winter inversion season traps fine particulate in the valley, and a filter that stayed clean through October will load up fast once the valley holds its air. That’s when moving from MERV 8 to MERV 11 earns its keep. MERV 11 catches a meaningfully finer particle range without choking airflow the way a MERV 16 hospital-grade filter can in a residential system. The catch: a denser filter creates more resistance, and if your ducts are already restricted, a higher MERV can push the system past what it can handle.
Use this sequence to decide:
- Check the filter every month for the first year you own the home. Note how quickly it greys out.
- Run a MERV 8 through spring and summer unless someone in the house has respiratory sensitivity. Bump to MERV 11 in late fall, ahead of inversion season.
- After two weeks on the new MERV rating, listen for a change in blower sound and feel the supply registers. If airflow drops noticeably, step back down or look at duct restriction first.
- Write the install date on the filter frame in pencil. You’ll never wonder again.
If your home has a whole-home filtration cabinet from Honeywell or Aprilaire, the media inside is a different animal from a slot filter and has its own change interval. We’re trained on both systems, and cleaning around them without disturbing the housing is part of the job.
2. The Tissue-Paper Airflow Test, Room by Room
You don’t need instruments to find a dead duct. A single sheet of tissue paper will tell you which registers are moving air and which are barely breathing. Run the test with the system fan on, all interior doors in their normal position, and the house closed up the way you actually live in it.
- Hold the tissue flat against a supply register. A healthy register will hold it there or flutter it steadily.
- Work through every supply in the house and note the result: strong, weak, or nothing.
- Do the same at the return grilles. A return should pull the tissue toward the grille.
- Write the results in a simple table on paper: room, supply reading, return reading.
- Repeat the test once more in the opposite season, usually in July and again in January, and compare.
What the readings mean is where the diagnostic value lives. One weak register in a house with strong airflow everywhere else usually points to a branch duct that’s come loose or crushed. A whole wing running weak points to a trunk restriction or a damper partly closed. Any register that moves no air at all is a red flag for a disconnected run, and in older Salt Lake City homes with flexible duct in the attic, that’s more common than people expect. A disconnected duct doesn’t just rob that room. It pulls attic air into the system and sends conditioned air into the attic, which is a comfort problem and an air quality problem at the same time.
One caution on the test itself: do it with the fan running normally, not on a temporary high setting, so the readings match how the house actually operates. And don’t chase a single weak reading with a bigger blower. Restricted ducts don’t need more push, they need the restriction found and fixed.
3. Inspecting Duct Joints After Winter
Salt Lake City’s freeze-thaw cycles are hard on duct connections, and the damage is invisible from inside the house. Every winter, flexible duct in attics and crawlspaces expands and contracts as temperatures swing across the freezing point. Tape adhesive hardens and lets go. Flex duct that was pulled snug in summer sags a little each year. Over time, connections that were tight work themselves loose, and the gaps that open are small enough to ignore and big enough to matter.
Inspect accessible duct joints once each spring, after the last hard freeze. You’re looking for four things:
- Separated connections where a branch duct has slipped off its takeoff collar.
- Failing tape and mastic that’s cracked, peeling, or dried out.
- Sagging flex duct that droops between hangers or has lost its round shape.
- Crushed or kinked runs where duct has been stepped on, sat against, or pinched by a joist.
Ripped or compressed insulation on the outside of a duct is worth noting too. In a valley where attic temperatures swing from below freezing to over 100 degrees across the year, insulation that’s been damaged lets condensation form on the duct surface, and moisture on ductwork is how you end up with biological growth you didn’t plan for. If you find a joint that’s come apart, that’s a repair, not a cleaning, and it’s the difference between a small fix now and a bigger one later. We handle duct repair as its own service for exactly that reason: Banner Air Duct Cleaning cleans and, if the ductwork is broken, fixes it.
Don’t reach into a crawlspace or attic and start re-taping joints without knowing what you’re looking at. A separated return in a tight crawlspace can pull soil gas into the system, and the fix has to be done correctly to seal it. Note what you find and have it handled properly.
4. Logging Your HVAC’s Static Pressure Behavior
Static pressure is the leading indicator of duct restriction, and almost no homeowner tracks it. The concept is simple. Your blower pushes air through a fixed path. When that path narrows from dust buildup, a crushed duct, or a clogged coil, the pressure in the system rises. The blower works harder, airflow drops at the far registers, and the system runs longer to hit the thermostat. By the time you notice rooms not getting cool, the restriction has been building for months.
You don’t need to install gauges to use this idea. A few behavioral observations give you a working log:
- Runtime creep. Note roughly how long the system runs on a normal summer afternoon. If that runtime lengthens over a season with similar weather, restriction or filter loading is a likely cause.
- Blower sound. A blower that sounds louder or higher-pitched than usual is pushing against more resistance than it used to.
- Register feel. Combine this with the tissue test. Declining airflow at the farthest registers is the signal.
- Temperature split. A thermometer at a supply register and one at the return, checked on the same afternoon each month, gives you a crude but useful record.
Write these readings down. A single measurement tells you nothing; a series over a year tells you where the system is heading. If you have a technician out for a tune-up, ask for the static pressure reading across the air handler. That number, tracked year over year, catches duct restriction before it shows up as a comfort complaint. In our experience, rising static pressure paired with a remote room that won’t cool is one of the most reliable signs that a duct is restricted somewhere the homeowner can’t see.
5. The Return Air Seal Check Everyone Skips
Supply ducts get all the attention. The return side is where the hidden problems live. Return ducts run at negative pressure, which means any gap in a return connection doesn’t leak air out; it sucks air in. If a return duct penetrates a wall cavity or a ceiling assembly and the seal at that penetration is compromised, the system pulls attic air, crawlspace air, or wall-cavity air straight into the return and distributes it through the house.
This is the annual check almost every homeowner skips, and it’s the one that matters most in a valley with inversion-season particulate. Here’s how to approach it:
- Locate every return grille in the house and trace where the return duct goes. Many homes have returns in hallways, some have them in the wall cavity between rooms.
- Where the return duct meets a wall, ceiling, or floor penetration, look for gaps, worn foam, or missing mastic. In an accessible attic or crawlspace, check the duct boot where it passes through the framing.
- Look for staining or dust streaks around return grilles. Streaking often means air is moving through a gap it shouldn’t.
- Note any return that runs through an unconditioned space. These are the highest-risk penetrations in the house.
A return that’s pulling attic air is the reason a freshly cleaned system can feel dirty again quickly. Sealing the penetration fixes the source. Cleaning the duct without sealing the gap just repeats the problem. If you want this inspected properly, air duct cleaning in Salt Lake City is a good place to start, because a proper cleaning visit includes a look at the return side and the boots where ducts meet the building.
6. Dryer Vent: The One Vent That’s a Fire Risk
Dryer vents aren’t ductwork for comfort. They’re a fire risk that builds silently with every load of laundry, and lint accumulation in dryer venting is a documented leading cause of residential fires. The maintenance logic is different from the rest of your ducts. Lint is highly flammable, dryer vent runs are often long and full of elbows, and a partially blocked vent traps heat in the dryer itself. We treat dryer vent cleaning like the safety service it is.
Between professional cleanings, a few habits matter:
- Clean the lint screen every load. Not most loads. Every load.
- Check the exterior vent flap. It should open freely when the dryer runs and close when it stops. A flap that stays stuck or doesn’t move at all is a sign of blockage.
- Feel the outside of the dryer during a cycle. A dryer that’s noticeably hot to the touch is working against a restricted vent.
- Notice drying times. If a load that used to take 45 minutes now takes 70, the vent is loading up.
- Keep the area behind and under the dryer clear of lint and stored items.
Rigid metal venting is easier to keep clean than the flexible foil type, and any vent run with several elbows or a long horizontal stretch needs professional attention more often. If you can’t remember the last time your dryer vent was cleaned, that’s the answer to the question. It’s due.
7. Building a Year-Round Cleaning Schedule
A maintenance checklist only works if it maps to the calendar. Here’s a schedule that fits how a Salt Lake City home actually runs through the year. Adjust the frequency to your home’s construction, age, and dust load, but keep the order.
- Monthly: check the filter, clean the lint screen every load, note the blower sound and register airflow.
- Spring (after the last hard freeze): inspect accessible duct joints in the attic and crawlspace, run the tissue-paper airflow test, and note any new weak registers.
- Late fall (ahead of inversion season): decide on the MERV level, replace the filter, and re-check return air seals where they penetrate walls or ceilings.
- Annually or per professional advice: have the full duct system cleaned. Homes with pets, recent renovations, or heavy dust shift to a tighter interval.
- Dryer vent: clean on a schedule tied to household laundry volume and vent length. Long runs and heavy use mean more frequent cleaning.
The professional cleaning interval isn’t one-size-fits-all. A newer Salt Lake City home with a tight envelope and a MERV 11 filter can go longer between cleanings than an older home with attic flex duct, pets, and a wood-burning stove. If you just finished a remodel, get the system cleaned once the dust settles, literally; construction debris and drywall dust find their way into ducts and stay there. For a full look at what that visit involves, see Salt Lake City.
8. What a Professional Visit Should Include
A legitimate professional visit shouldn’t be a quick vacuum pass at the registers. It should be a system-health audit, and you should expect to see the equipment that makes it real. When you book with Banner Air Duct Cleaning, here’s what the visit involves:
- Mechanical agitation with a Rotobrush rotary brush system. Brushes physically break debris off the duct walls rather than relying on suction alone to pull it loose.
- HEPA-rated extraction with a Nikro vacuum. HEPA filtration captures particles down to 0.3 microns, which means contaminants leave your home rather than recirculating into the room you’re standing in.
- Abatement Technologies air scrubbers running during service. Remediation-grade particle containment protects the home while the cleaning is happening, not just after.
- A look at the return side and duct joints. If a duct is disconnected or damaged, that gets flagged and can be repaired. We clean it and, if it’s broken, we fix it.
- Compatibility awareness for whole-home air-quality equipment. If you have a Honeywell or Aprilaire system, the cleaning is done so the existing equipment isn’t disturbed.
Ask any company you’re considering what equipment they run and whether they can repair a duct they find damaged. Restoration-grade equipment, not rental-counter tools, is the difference between a cleaning and a flush. Our technicians have up to 11 years of experience, and the visit is built around the hardware that makes the difference.
Common Mistakes to Avoid
- Changing the filter on a fixed 90-day timetable. Your Salt Lake City home’s filter loads faster during inversion season and after windy spring days. Check it monthly and change it based on condition, not the calendar.
- Skipping the return air seals. Most homeowners inspect supplies and ignore the returns, where negative pressure pulls attic and crawlspace air into the system. This is the check that catches hidden air quality problems.
- Re-taping attic joints in summer and expecting it to last. Tape applied before freeze-thaw season starts is likely to fail again. The joint needs to be repaired to survive the swing, not just re-taped.
- Upgrading to a high-MERV filter on a restricted system. A denser filter on ductwork that’s already restricted compounds the pressure problem. Find the restriction first, then choose the MERV level.
- Treating dryer vent cleaning as optional. Lint buildup in the vent is a fire risk and a dryer efficiency drain. If you can’t remember the last cleaning, it’s overdue.
- Hiring a company that can’t repair what it finds. A cleaner who finds a disconnected duct and has to refer you elsewhere leaves the job half done. Look for one that can fix the problem on the spot.
- Cleaning ducts but leaving a moisture source unaddressed. If insulation on a duct is damaged and condensation is forming, cleaning without repairing the insulation means the problem returns.
See the difference
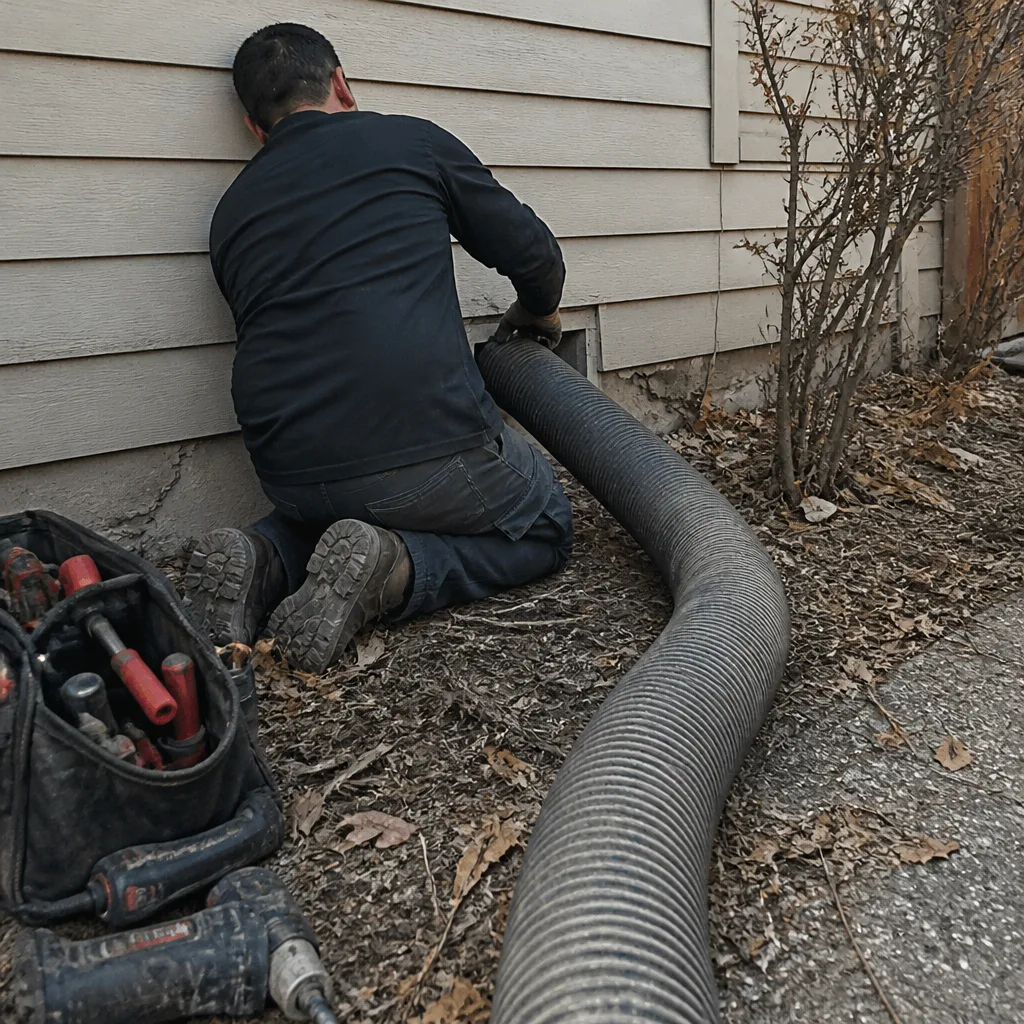 Before
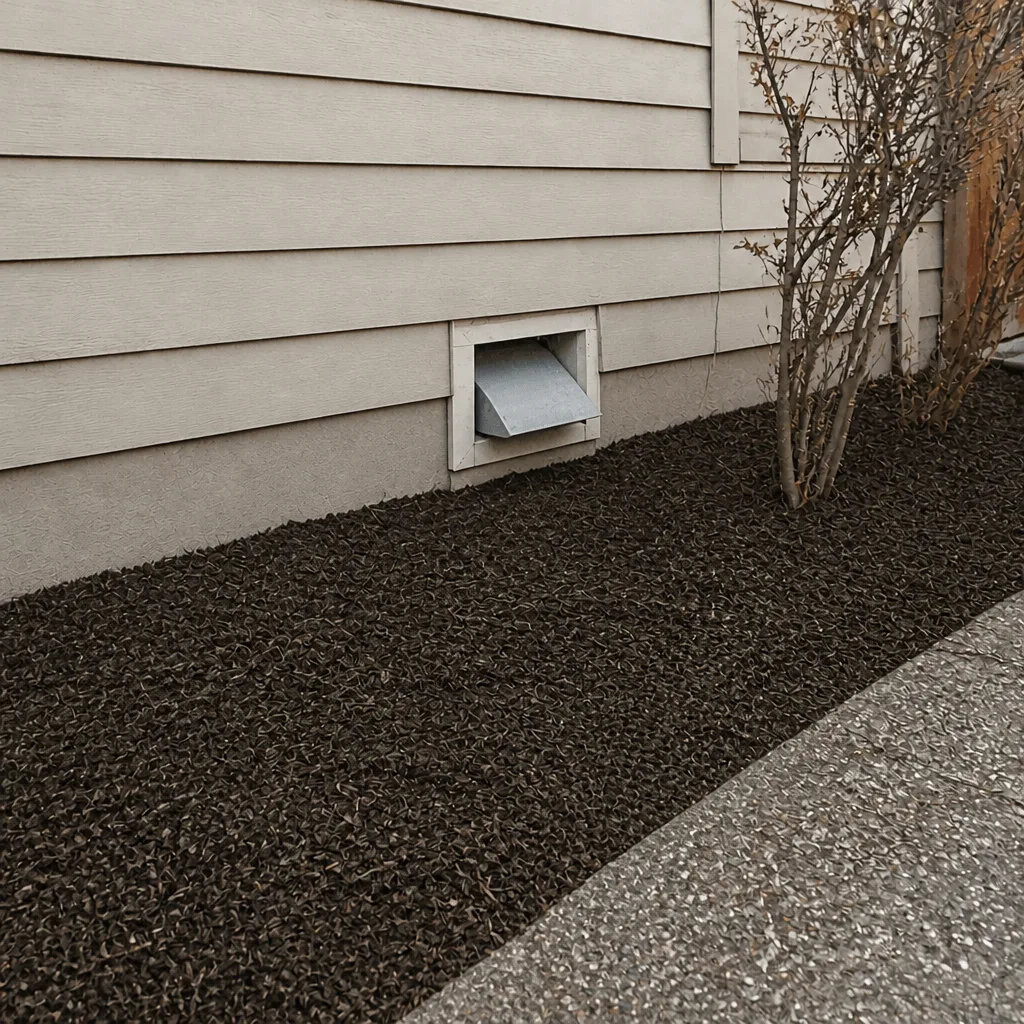 After
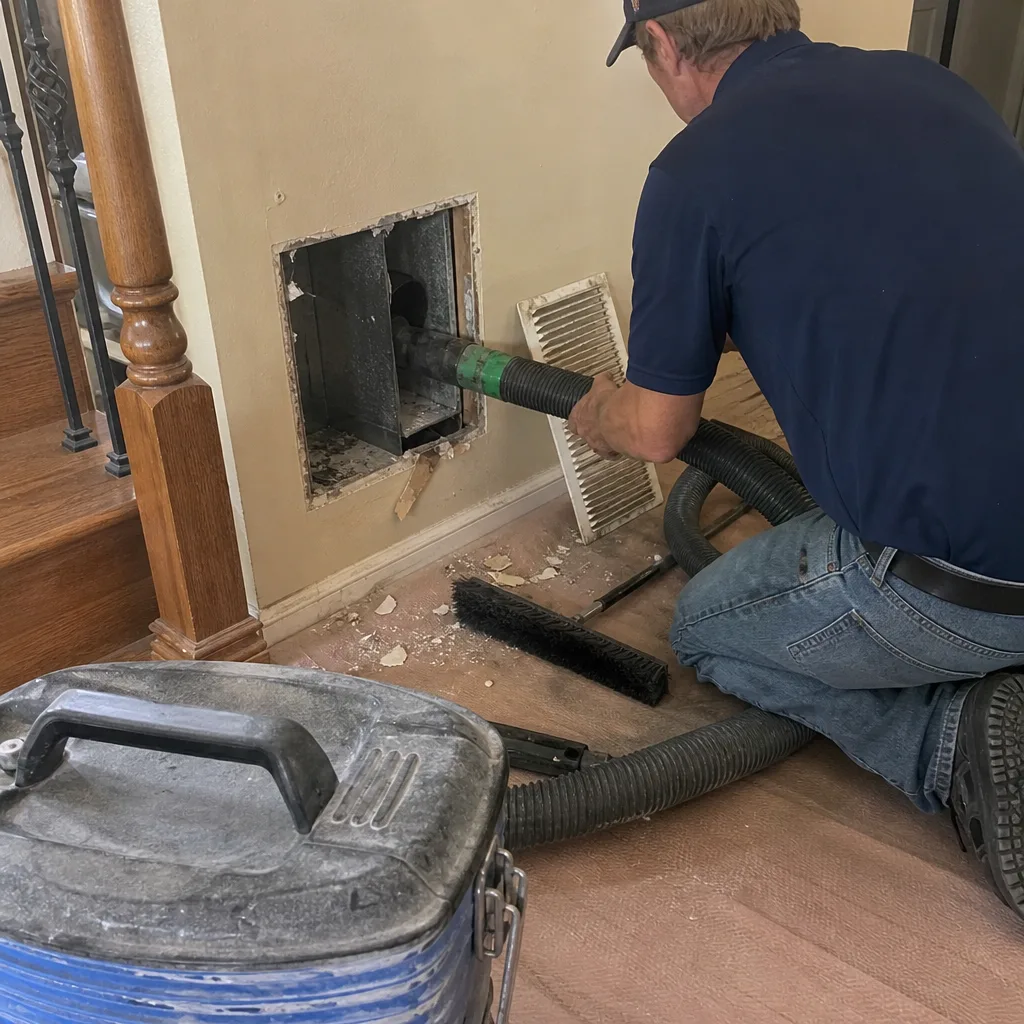 Before
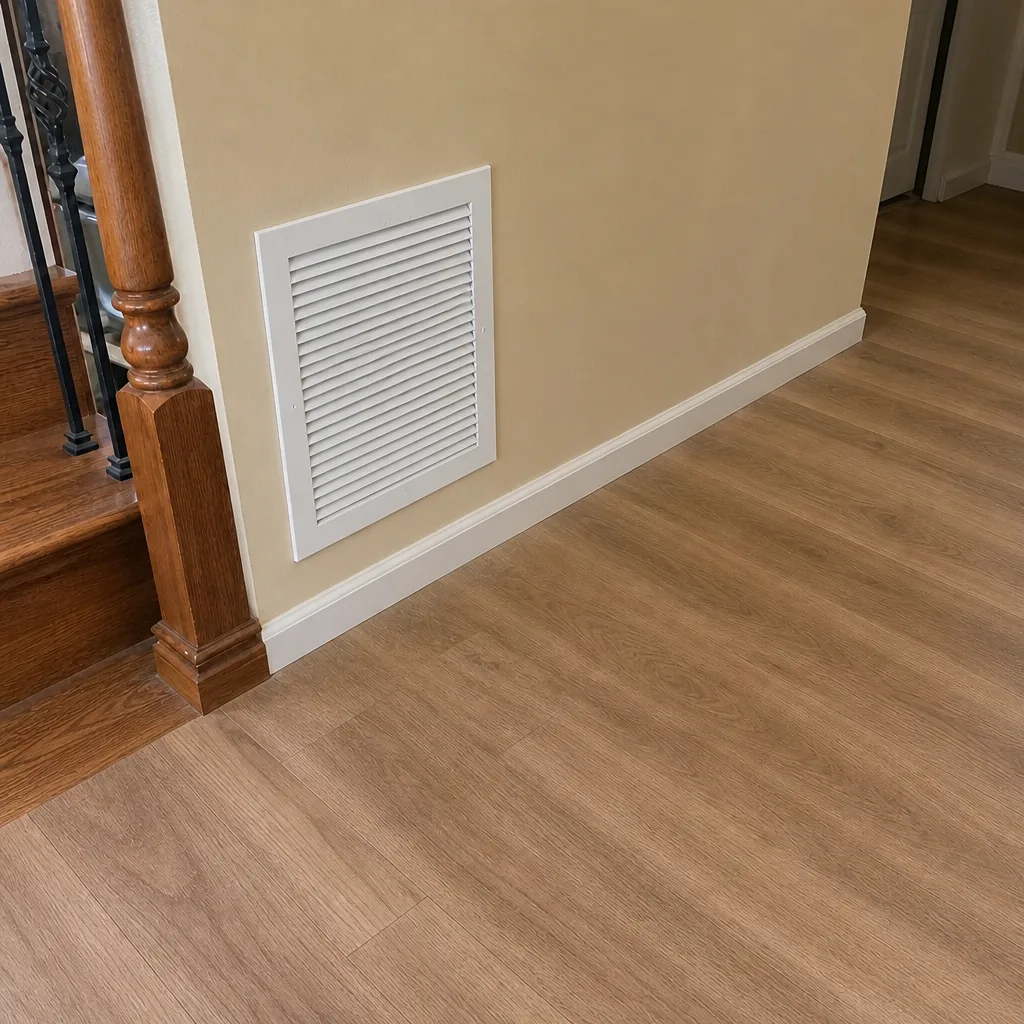 After
 Before
 After
When to Call a Professional
Some of this checklist is homeowner work. Some of it isn’t, and the line matters. Call a professional when a tissue test shows a register moving no air at all, when you find a duct joint separated in the attic or crawlspace, when you see condensation or staining on ductwork, when your dryer takes noticeably longer to finish a load, or when static pressure behavior suggests restriction that needs proper diagnosis. Don’t re-tape a return penetration in a tight crawlspace without knowing what’s behind it. That’s a job for someone with the right tools and the training. Banner Air Duct Cleaning offers free estimates in Salt Lake City; call (855) 752-4416 with your checklist notes and we’ll talk through what you’re seeing. We answer 24/7, with fast dispatch from 7am to 7pm, Sunday through Friday.
Frequently Asked Questions
Most Salt Lake City homes should have their duct system professionally cleaned every few years, with a tighter interval for homes with pets, recent renovations, or heavy inversion-season dust exposure. The exact timing depends on your home’s construction, filter habits, and what your joint inspections and airflow tests show. Call (855) 752-4416 for an exact recommendation based on your home.
A shop vac can reach the register and the first stretch of duct near it, but it can’t agitate debris off duct walls or capture fine particles the way a HEPA-rated extraction system does. It also can’t tell you whether a duct is disconnected. For anything beyond surface dust at the register, you need professional equipment. Call (855) 752-4416 to book a proper cleaning.
A room that stays warm while the rest of the house cools usually has a restricted or disconnected branch duct, and August heat makes it obvious. Run the tissue test at that room’s supply register and note whether airflow is weak or absent, then check the accessible joint feeding that run. Call (855) 752-4416 and we’ll track down the restriction.
A MERV 8 works for most of the year, and moving to MERV 11 ahead of inversion season is a sensible step if your system’s airflow can handle the added resistance. A higher MERV isn’t automatically better if your ducts are restricted. Check the filter monthly and step up only when the system runs well on the denser filter. Call (855) 752-4416 if you’re not sure which your system can take.
Signs of a restricted dryer vent include drying times that have crept up, a dryer that’s hot to the touch, and an exterior vent flap that doesn’t open freely. Lint buildup in venting is a documented cause of residential fires. If you can’t remember the last cleaning, get it done. Call (855) 752-4416.
Flexible duct in attics and crawlspaces expands and contracts as temperatures cross the freezing point, which gradually works connections loose and dries out tape and mastic. Inspect accessible joints once each spring after the last hard freeze. If you find a separated joint, that’s a repair job. Call (855) 752-4416 and we’ll take a look.
The Bottom Line
Duct maintenance in Salt Lake City is a year-round rhythm, not a seasonal chore. Monthly filter checks, a spring joint inspection that accounts for freeze-thaw damage, a fall MERV upgrade for inversion season, a return air seal check most homeowners never do, and a dryer vent cleaning treated as a safety item all work together. The tissue test and the static pressure log tell you when something’s failing before it becomes a repair. When a check turns up a separated duct, condensation, or a register moving no air, call in someone who can clean it and fix it. The checklist gets you most of the way; the equipment finishes the job.
Written by the team at Banner Air Duct Cleaning.
Have your checklist notes ready and want a professional set of eyes on the system? Banner Air Duct Cleaning offers free estimates in Salt Lake City. Call (855) 752-4416. We answer 24/7, with fast dispatch from 7am to 7pm, Sunday through Friday.